- State
- Florida
Good Afternoon!
The Xterra is starting to get a case of Cataracts as the Sun is slowly cooking the UV inhibitors out of the plastic. So before it gets much worse and while making a Maintenance Wash, I thought I would try something to help address the condition with the supplies I already had on hand")
Here are the steps I took and see if they could help you also slow down this condition on your Truck or SUV?
1. Went though my normal wash process with 2 buckets and soaps. 1 Bucket was with dish de-greaser soap for the tires and rims. The other main bucket / grit guard combo with my normal car soap so it does not strip off the Bead Maker on the Paint, but the same applies to whatever you use to protect your paint... You need to use a PH neutral soap (Car Soap) so you do not undo all the work you put into making it look good and sealing the paint last detailing.
2. Then I grabbed a clean wash cloth, got it damp and then shook some Bar Keepers Friend onto it and used it to buff out by hand, the parts of the headlights that were starting to discolor. I am going to say I spent about 5 min using this combo to help polish out some of the discoloration in the headlight lens for each one.
3. Then I finished out the rest of the truck wash, blew it dry with my leaf blower, and applied a second coat of Bead Maker as a drying agent, for the rest of the towel drying process. I just did NOT apply any to the headlights since I was not done just yet... I wanted to see how they looked after totally drying.
4. Now the that headlights were dry I saw that it help some, but they still needed some more work to help buff them out more and try and make them look the same across the entire lens. The Bar Keepers Friend did a good starting job to the process (much better than I 1st expected) but time to unleash some more products to help with the level of the finish.
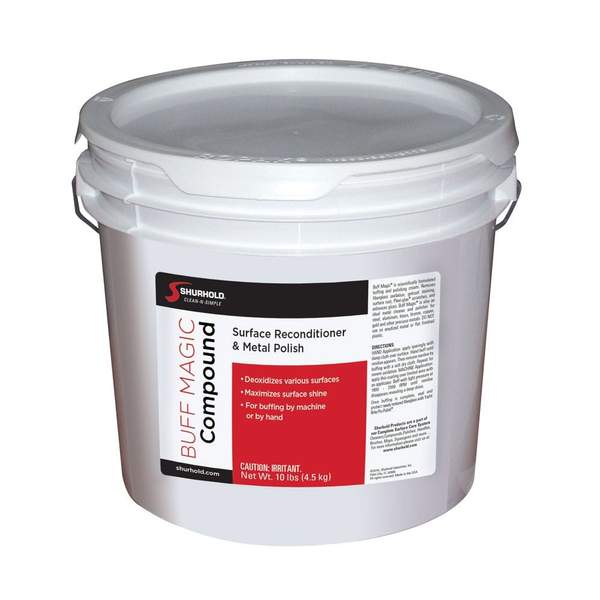
5. So I grabbed some Glaze / Polish and applied it by hand. This was to help "fill in" the lens micro scratches and then buffed them both out using my RO Buffer on speed 5 with a lamb's wool pad. I did that step 2 or 3 times to help polish them out and make them look as new as possible. Now on mine I did not have to worry about taping anything off, you though you might want to take that step pending how flush your headlights are to other body panels or other plastic parts")
Here is the Before pictures and hopefully you can see how cloudy they had become near the top of each lens...


And here is the After shots so you can see that a little time invested (maybe 15 min in total) helped quite a bit and was with products and tools I already had on-hand


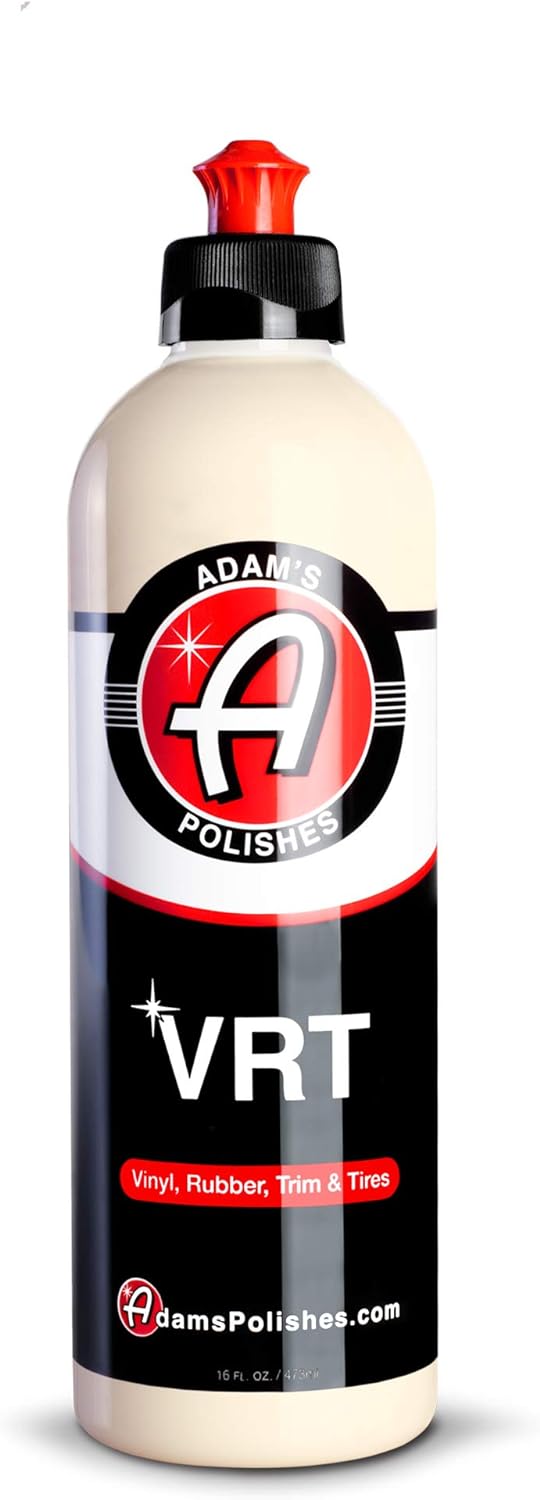
Lastly I put some Bead Maker on them, but these pictures did not include that step and that was done more than anything, to help keep the Love Bugs from sticking as much and give them a tab bit more UV protection.
Now they are far from perfect, but I did not have to spend any extra money to get one of those Head Light Restore kits that use stuff you need to mask off all the nearby body panels, this and use gloves and maybe even a respirator to even be around?
And I am quite sure, they will not stay that way very long since the damage is already done to the plastic... But if it only takes a little Bar Keepers Friend as a compound agent, and some polish with my RO Buffer every 6 months or so to keep them at that level of clarity no big deal!
Hope this helps, and let us know if this process also helped yours?
The Xterra is starting to get a case of Cataracts as the Sun is slowly cooking the UV inhibitors out of the plastic. So before it gets much worse and while making a Maintenance Wash, I thought I would try something to help address the condition with the supplies I already had on hand
Here are the steps I took and see if they could help you also slow down this condition on your Truck or SUV?
1. Went though my normal wash process with 2 buckets and soaps. 1 Bucket was with dish de-greaser soap for the tires and rims. The other main bucket / grit guard combo with my normal car soap so it does not strip off the Bead Maker on the Paint, but the same applies to whatever you use to protect your paint... You need to use a PH neutral soap (Car Soap) so you do not undo all the work you put into making it look good and sealing the paint last detailing.
2. Then I grabbed a clean wash cloth, got it damp and then shook some Bar Keepers Friend onto it and used it to buff out by hand, the parts of the headlights that were starting to discolor. I am going to say I spent about 5 min using this combo to help polish out some of the discoloration in the headlight lens for each one.
3. Then I finished out the rest of the truck wash, blew it dry with my leaf blower, and applied a second coat of Bead Maker as a drying agent, for the rest of the towel drying process. I just did NOT apply any to the headlights since I was not done just yet... I wanted to see how they looked after totally drying.
4. Now the that headlights were dry I saw that it help some, but they still needed some more work to help buff them out more and try and make them look the same across the entire lens. The Bar Keepers Friend did a good starting job to the process (much better than I 1st expected) but time to unleash some more products to help with the level of the finish.
5. So I grabbed some Glaze / Polish and applied it by hand. This was to help "fill in" the lens micro scratches and then buffed them both out using my RO Buffer on speed 5 with a lamb's wool pad. I did that step 2 or 3 times to help polish them out and make them look as new as possible. Now on mine I did not have to worry about taping anything off, you though you might want to take that step pending how flush your headlights are to other body panels or other plastic parts
Here is the Before pictures and hopefully you can see how cloudy they had become near the top of each lens...
And here is the After shots so you can see that a little time invested (maybe 15 min in total) helped quite a bit and was with products and tools I already had on-hand
Lastly I put some Bead Maker on them, but these pictures did not include that step and that was done more than anything, to help keep the Love Bugs from sticking as much and give them a tab bit more UV protection.
Now they are far from perfect, but I did not have to spend any extra money to get one of those Head Light Restore kits that use stuff you need to mask off all the nearby body panels, this and use gloves and maybe even a respirator to even be around?
And I am quite sure, they will not stay that way very long since the damage is already done to the plastic... But if it only takes a little Bar Keepers Friend as a compound agent, and some polish with my RO Buffer every 6 months or so to keep them at that level of clarity no big deal!
Hope this helps, and let us know if this process also helped yours?